Step-by-step Self Hosting Guides - From Zero to Production Appflowy
Link:https://appflowy.com/docs/Local-Host-Deployment
https://appflowy.com/docs/Step-by-step-Self-Hosting-Guide---From-Zero-to-Production
EM 23/08/2026
In this guide, we will deploy AppFlowy Cloud entirely on local machine. This deployment will not be accessible outside of the machine, and no collaboration is possible. However, it does allow a self hoster to quickly explore the editing functions offered by AppFlowy.
Local Host Deployment
https://youtu.be/V222xugM7oY?si=RIr-rPjkj73Ue0-Q
Docker compose and Git are installed on your local machine.
Familiarity with command line.
AppFlowy desktop application is already installed.
Setting up the web services
Clone the AppFlowy Cloud repository.
git clone https://github.com/AppFlowy-IO/AppFlowy-Cloud.git
From the root of the directory, copy deploy.env to .env.
cp deploy.env .env
(Optional) If port 80 or 443 are already occupied by another service, such as Nginx, then modify the port binding via the following env variables.
NGINX_PORT=80
NGINX_TLS_PORT=443
Run the services via docker compose, in the background.
docker compose up -d
Check if all services are running and healthy.
docker compose ps
For subsequent sections, we will assume that port 80 is used for the deployment. If you have changed the port in earlier steps, please change the port accordingly.
Setting up the desktop client
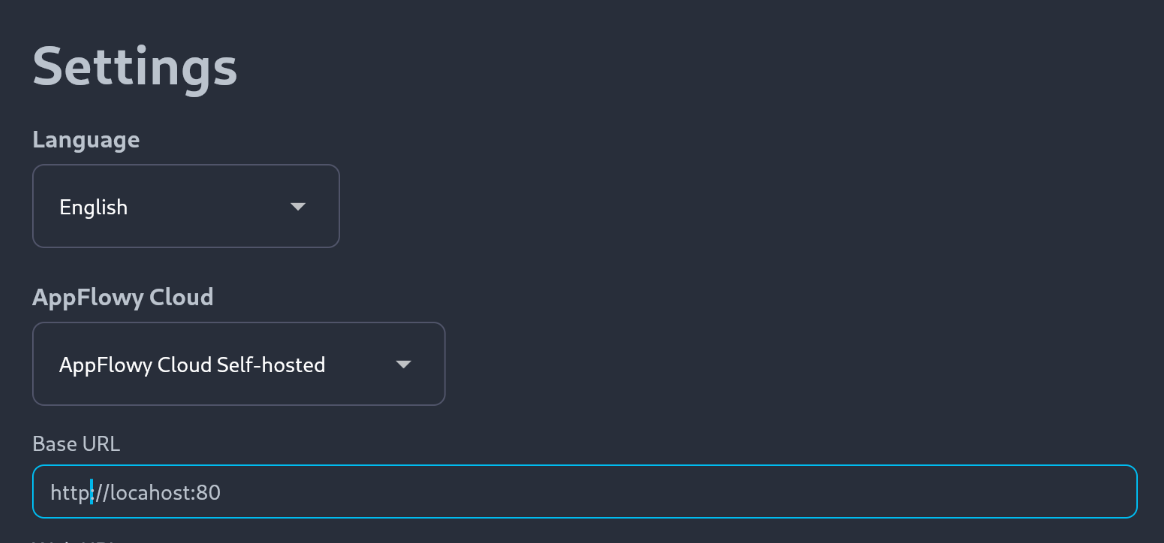
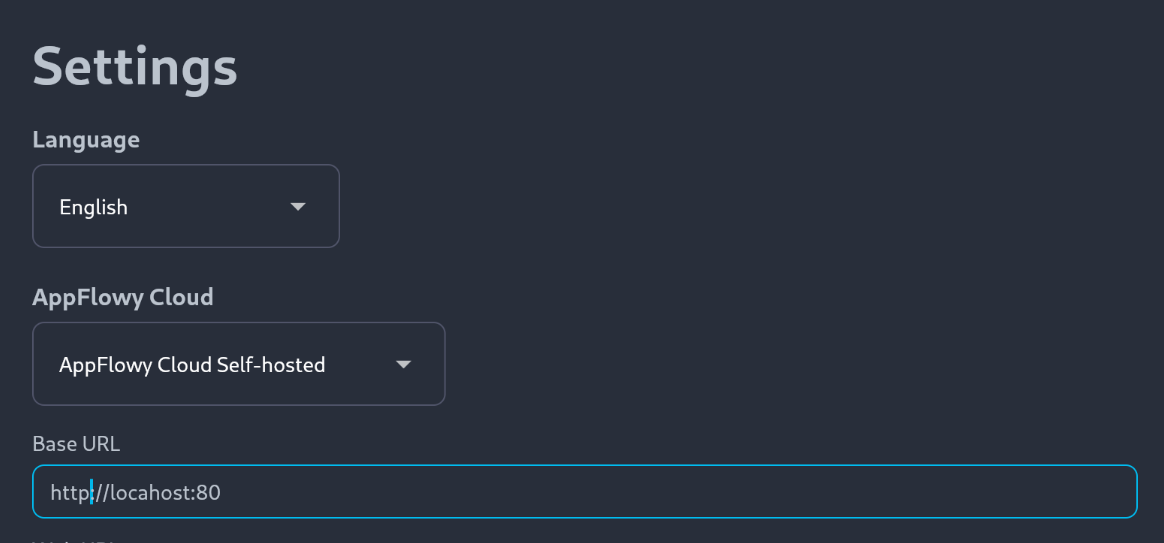
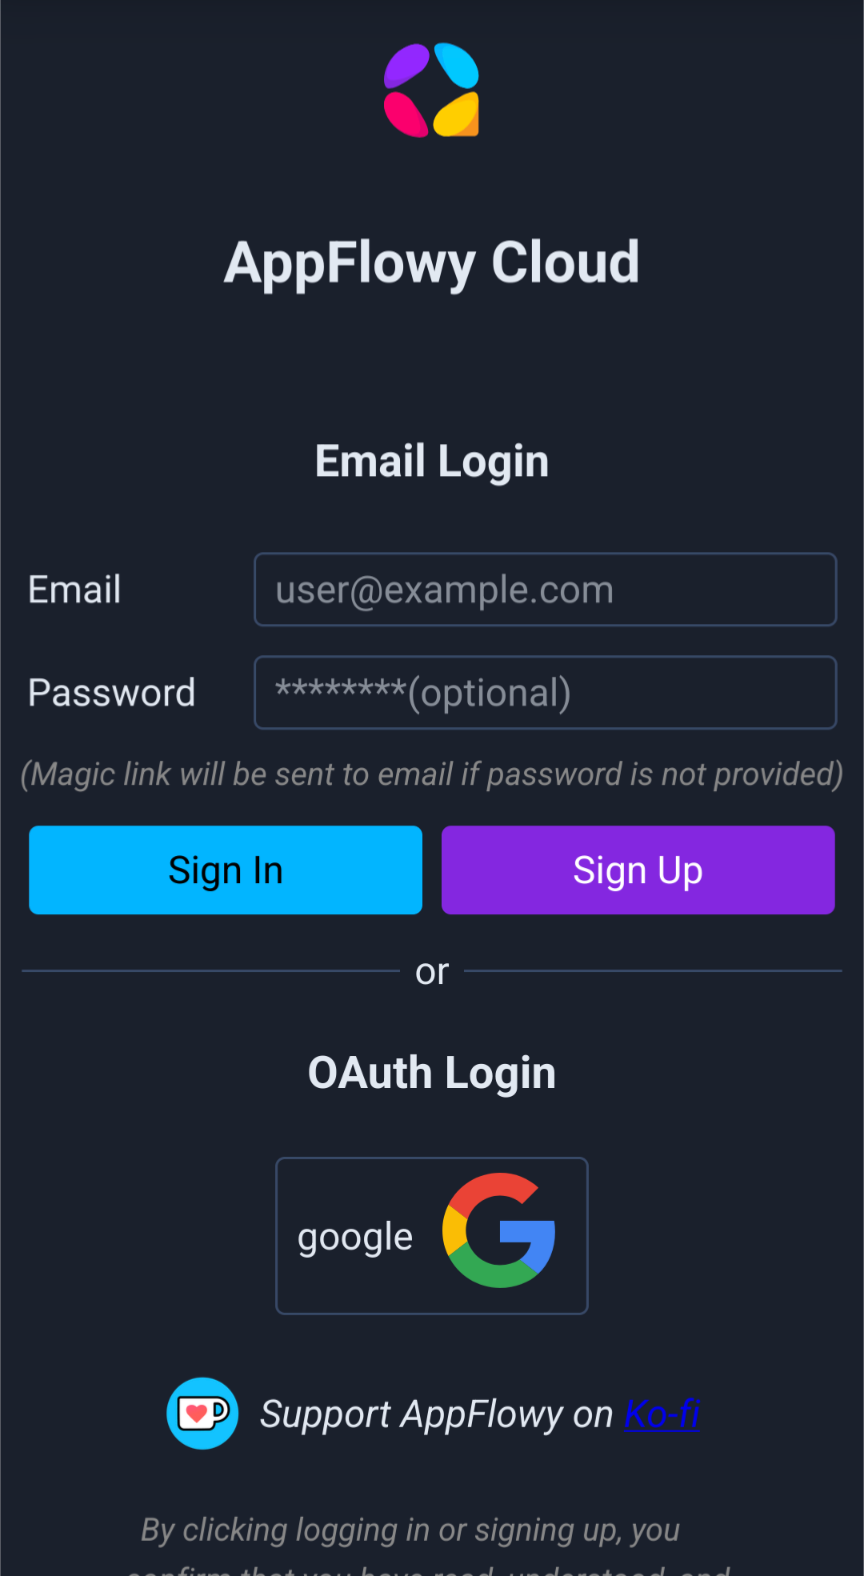
By default, the desktop application will connect to the official server. You can change the server endpoint via the settings, which can be found at the bottom of the login page.
Update the base URL to localhost:80. You may ignore the web URL for the time being.
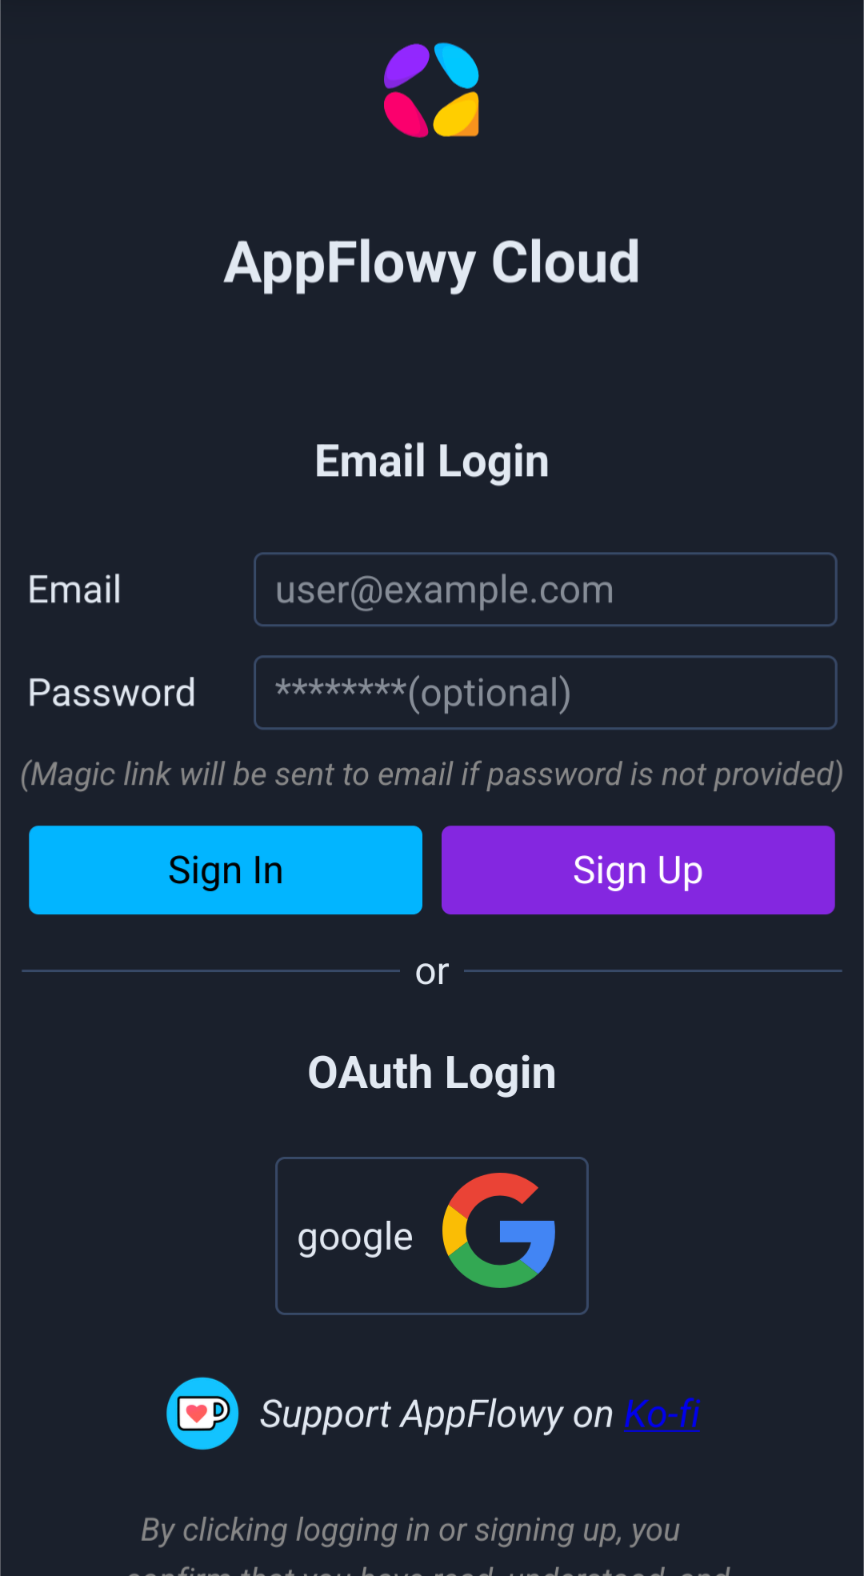
There are multiple ways to log in to AppFlowy. We will start with password login, which work out of the box with the default configuration.
Log in via username and password
Currently, AppFlowy clients do not support password based login directly. However, it is still possible to login via username and password through the admin portal.
The admin portal is available on localhost:80/console. When setup correctly, you should land on a page similar to below:
The credentials are set via the following variables:
GOTRUE_ADMIN_EMAIL=admin@example.com
GOTRUE_ADMIN_PASSWORD=password
Do remember to change the default credentials if you plan to expose this deployment online. After changing the variables, the changes will take effect after you restart the services via docker compose.
Important: you should change the admin credentials only via the .env variable, and not via the admin console.
Navigate to the admin page. The admin page is accessible via the top right button in the home page:

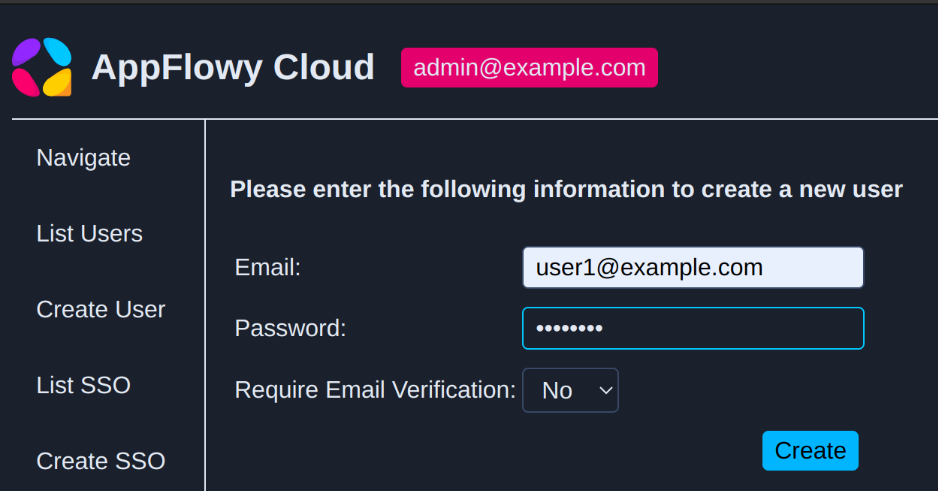
Create a new user. The email doesn't need to actually exist, unless you plan to login using Identity Provider or magic link in the future
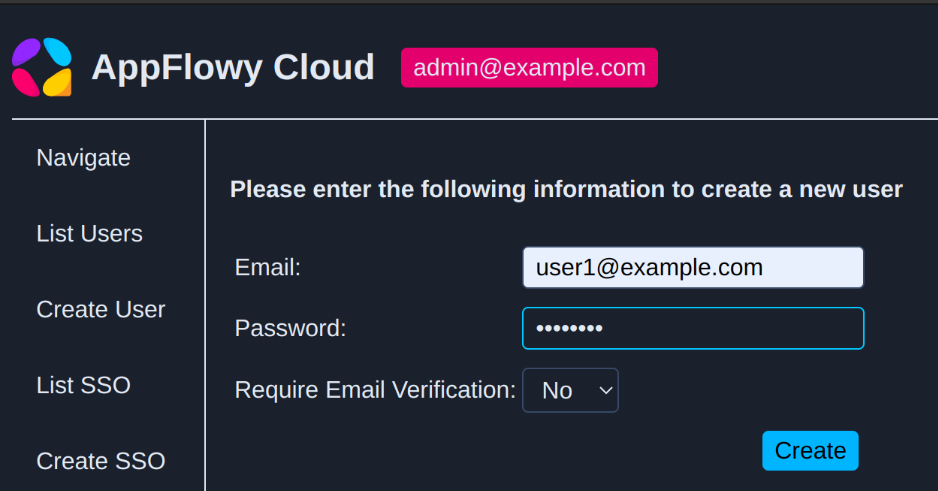
For the purpose of this demo, we will create two users, user1@example.com and user2@example.com .
Logout from the admin console, then log in using the credentials for user1@example.com.
Click on Open AppFlowy to launch the desktop application.
Inviting user to a workspace
If you have setup SMTP, you can invite a new member to your workspace directly from the workspace setting page, in the application:

Since we have not setup SMTP yet, for this guide, we will use the admin console to manage workspace member instead.
Login to the admin console using user1's credential.
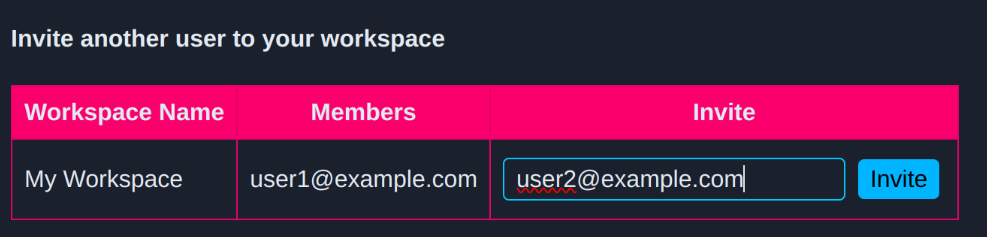
On the left panel, click on Invite , then invite user2 to the workspace.
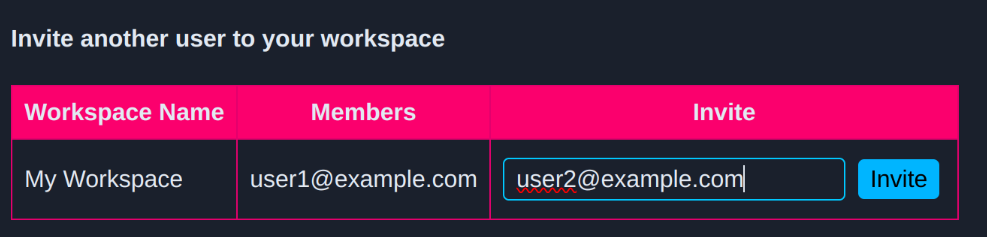
Logout from the desktop application, so that we can login as user2 later. Close the application.
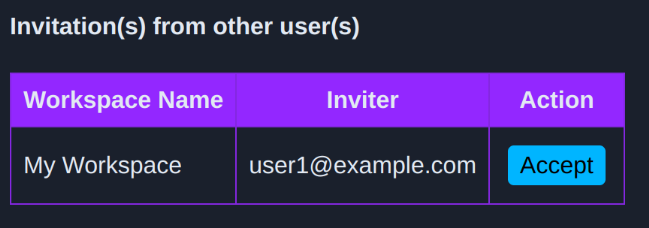
Login to the admin console using user2's credential. You should see something similar to the image below, for the invite page:
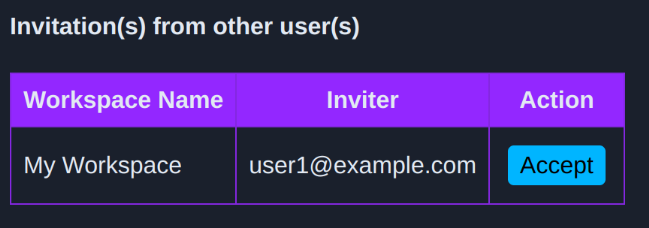
Accept the invitation, then launch AppFlowy. user2 should now be a member of user1's workspace.
The services can be stopped by running
docker compose down
If, at any point in time, you would like to erase all the data and start the setup from scratch again, run
docker compose down -v



No comments to display
No comments to display